 Do you like homemade ice cream? Most likely, that’s as silly as question as asking if you like to breathe! I’ve thought about buying an ice cream freezer but almost all the recipes I find are really high in calories and fat and they include stuff that I don’t want to eat – like cream (imagine that – “cream” in ice cream) which is NOT a healthy ice cream. Not only that, but lots of them involve first cooking the cream mixture which I just don’t want to do.
Another habit I wanted to create was eating fruit in the morning but, honestly, just eating an apple and calling it ‘breakfast’ doesn’t do it for me. So after some thought, I’ve invented my own way of making ice cream that is:
* Simple
* Quick
* Healthy
* And every member of your family can have a different flavor, if they like
Sound good? Then let’s talk about my favorite, so far: peanut butter ice cream.
What Equipment Do I Need To Make Ice Cream?
You don’t need an expensive ice cream maker and you don’t need to freeze your bowl ahead of time. All you need is a small food processor. Mine cost less than $20 at Walmart. Of course, if you want to make a single flavor for the whole family, you can use a larger one.
Optional: I don’t like big chunks of food – like chips or nuts – in my ice cream so I use a coffee grinder to make smaller pieces. It also cost under $20 at Walmart.
Your Ice Cream “Base”
I use bananas in every serving. Bananas just make your recipe “creamier”. I’ve experimented with creams without bananas and they taste more like sorbet. Nothing wrong with sorbet but it’s just not what I want.
“What if I don’t like bananas?”
It doesn’t matter because you really can’t taste them. Or at least I can’t. If you really hate this wonderful little fruit, get someone else to be your taste tester.
And another great thing about bananas is that they’re consistent and available year round. Some fruits, like my beloved cherries and peaches, are quite seasonal. Of course, there are frozen brands but fresh always tastes best.
Frozen Bananas
I cut my bananas in fairly thin pieces and then lay them out on a baking sheet that is covered with plastic wrap and pop them into the freezer.
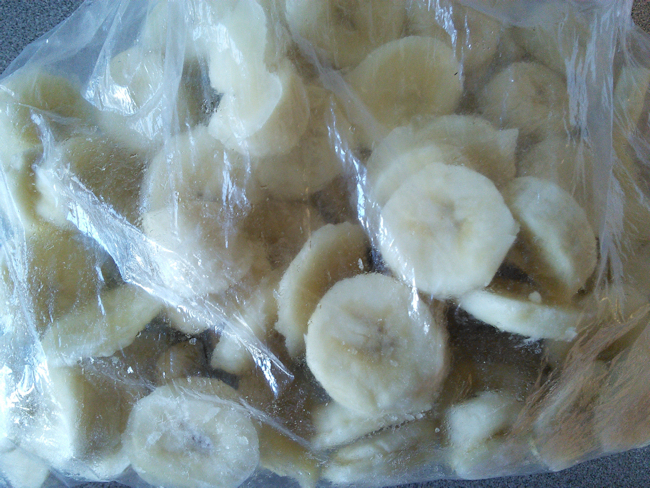
* Keep your pieces very thin because you don’t want to overwork your food processor
* Definitely use a piece of wrap because bananas will stick to metal, plates, etc. With the wrap, I just piece them up and knock them into a freezer bag.
* It’s very smart to first drop them into a bowl and cover them with lemon juice. I use the cheapest bottled lemon juice, usually the store brand. This keeps your bananas from turning brown. As you can see from the attached picture, my bananas look as though I just opened them.
This Is A Very FORGIVING Recipe!
I don’t measure anything and you don’t need to, either. That way, every batch is a bit different which is really fun.
Step #1: Bananas
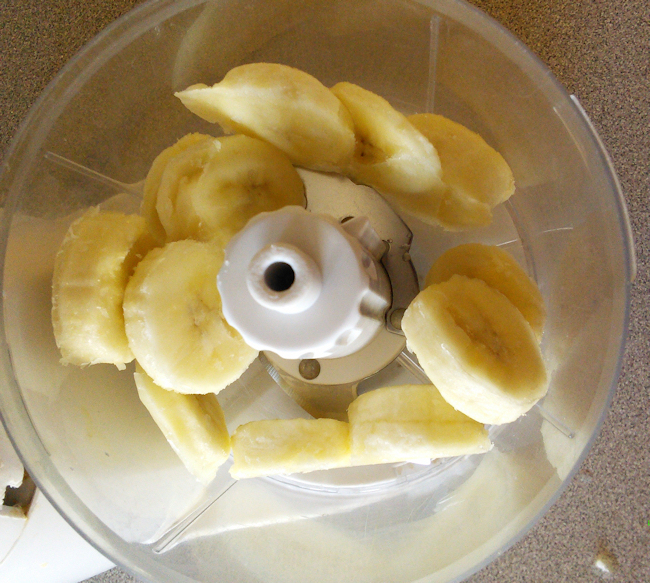
This is an example of a small ‘test’ recipe, to see if you like it before making an entire bowl full. So throw in approximately a dozen pieces of banana.
Step #2: Peanut Butter
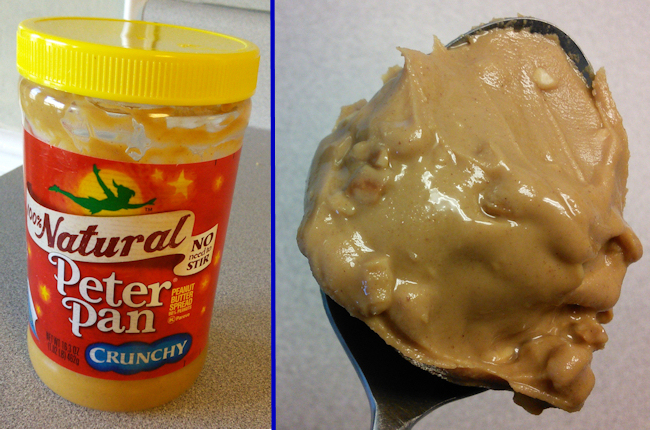
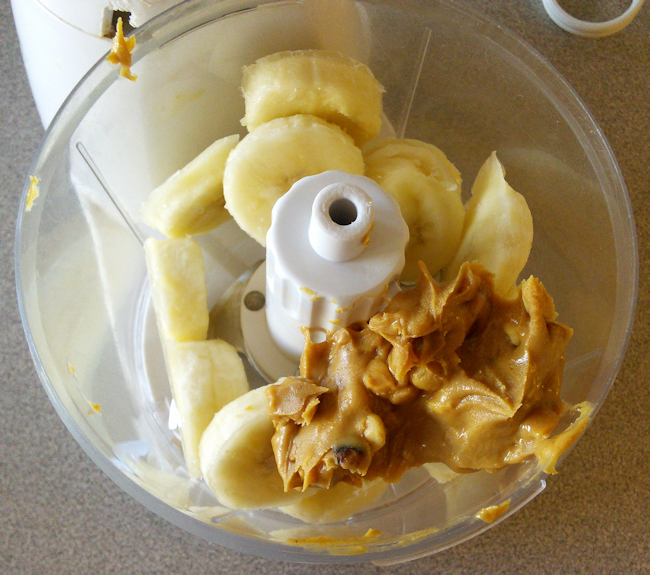
As you can see I added a very generous spoonful of peanut butter. You can use any nut butter, naturally. (And, by the way, I’m experimenting with a peanut butter ice cream that is much lower in calories but equally high in flavor.)
Step #3: Stevia
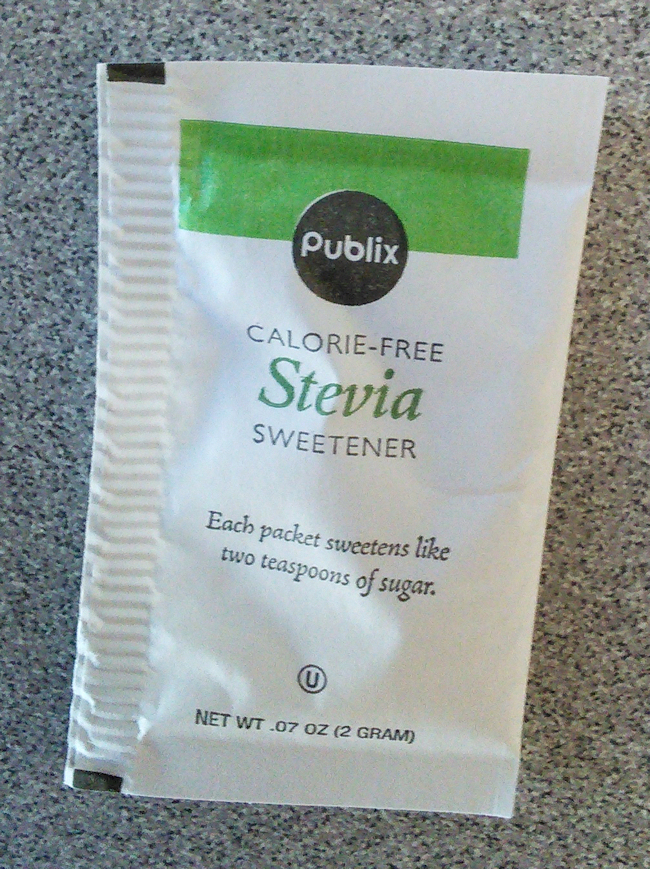
I added an envelope of stevia but some of you might not want to bother. Or you can use other sweeteners like agave nectar, coconut sugar or honey.
Step #4: Milk
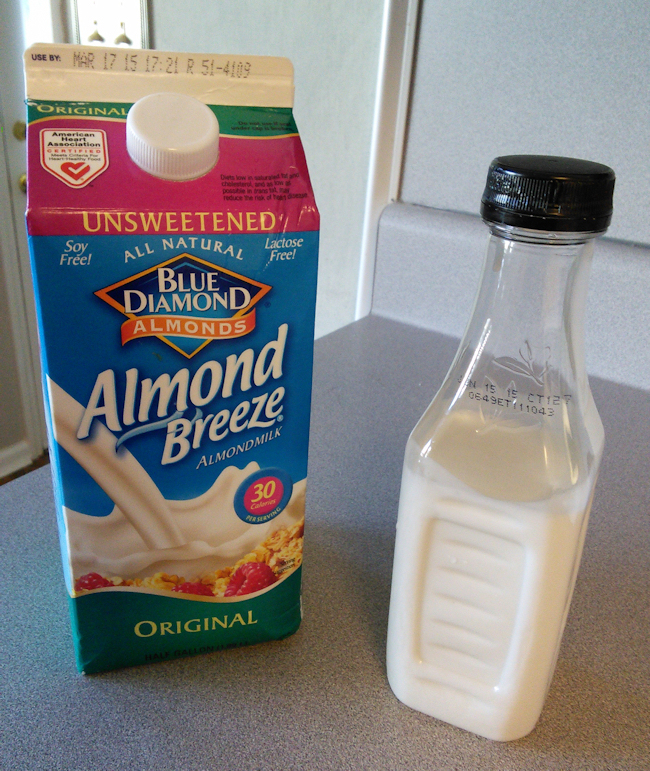
At first I used only unsweetened almond milk, but then I experimented by adding coconut milk and I like my ice cream much better! Coconut milk is rich and creamy and thus makes my ice cream creamier. According to the milk I buy, it’s 70 calories for 1/4 cup so the calories aren’t high since I only use a couple of Tablespoons.
A hint: I don’t know if it’s just my particular food processor or not, but if I add all the milk at once it will overflow the lid and gush out on the counter. So what I do is add the coconut milk and mix it in, then add almond milk, a little bit at a time, until everything is well mixed. Add – mix – add more milk – mix – etc.
Step #5: Definitely Optional

Sometimes I add some Heath chips. Yes, it definitely makes my homemade ice cream recipe less healthy, but it’s not that big a difference in calories or ”healthiness” and the chips are fun. You could also add peanut butter chips or a few ground up peanuts. That’s where the coffee grinder comes in handy.
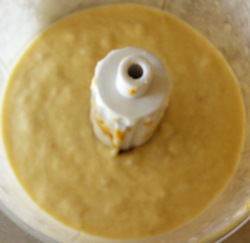
Step #5 or Step #6: Freezer Time
Pour your ice cream in a bowl and pop it in the freezer for 10-20 minutes. This isn’t absolutely necessary but it will make it firmer. The result will be ‘soft serve’ either way.
I’ve become a really connoisseur of this healthy ice cream. The varieties are really ENDLESS and I already have a long list of homemade ice cream recipes. For instance, yesterday morning I ate BLACKBERRY CHEESECAKE ICE CREAM and this morning I devoured CARAMELIZED BANANA AND COCONUT ICE CREAM? So, expect more delicious goodies from the Sydney Test Kitchen.
D larkedpdd says
Great article!